If you’re a regular user of Microsoft PowerPoint, you know how important it is to have clean and error-free slides. After all, your presentations directly reflect your professionalism and attention to detail. That’s where Grammarly steps in to help you.
Grammarly is a popular writing assistant that can now help you catch spelling mistakes, grammar errors, and even plagiarism in your PowerPoint slides.
In this guide, I’ll walk you through setting up Grammarly for PowerPoint, using its features to enhance your slides, and troubleshooting any issues you may be facing.
Scroll further to improve your PowerPoint presentations!
4 Key Requirements for Using Grammarly with PowerPoint
Before diving into the setup process, let’s take a look at the prerequisites for using Grammarly with Microsoft PowerPoint:
- Grammarly Account: You’ll need to have a Grammarly account, with either the free version or the premium subscription. The free version of Grammarly offers basic grammar and spelling checks, while the premium plan provides more advanced features like plagiarism detection and tone analysis.
- Microsoft Office Access: To use Grammarly with PowerPoint, you’ll need to have access to Microsoft Office, specifically PowerPoint. This can be availed through a standalone Office suite, an Office 365 subscription.
- Supported PowerPoint Versions: Grammarly for Windows supports Microsoft Office 2016 and newer, as well as Microsoft Office 365 (installed or updated after February 2020). For macOS users, Grammarly is compatible with the latest versions of PowerPoint.
- Stable Internet Connection: Grammarly operates in the cloud, so you’ll need a stable internet connection to use its full suite of features. This ensures that the grammar and spelling checks, as well as the plagiarism detection, can be conducted seamlessly.
Setting Up Grammarly for PowerPoint in 4 Simple Steps
If you don’t have a Grammarly account yet, head over to the Grammarly website and sign up for a plan. You can choose between the free or premium plan, depending on your needs.
Once you have your Grammarly account set up, follow these steps to integrate the tool with your PowerPoint presentations:
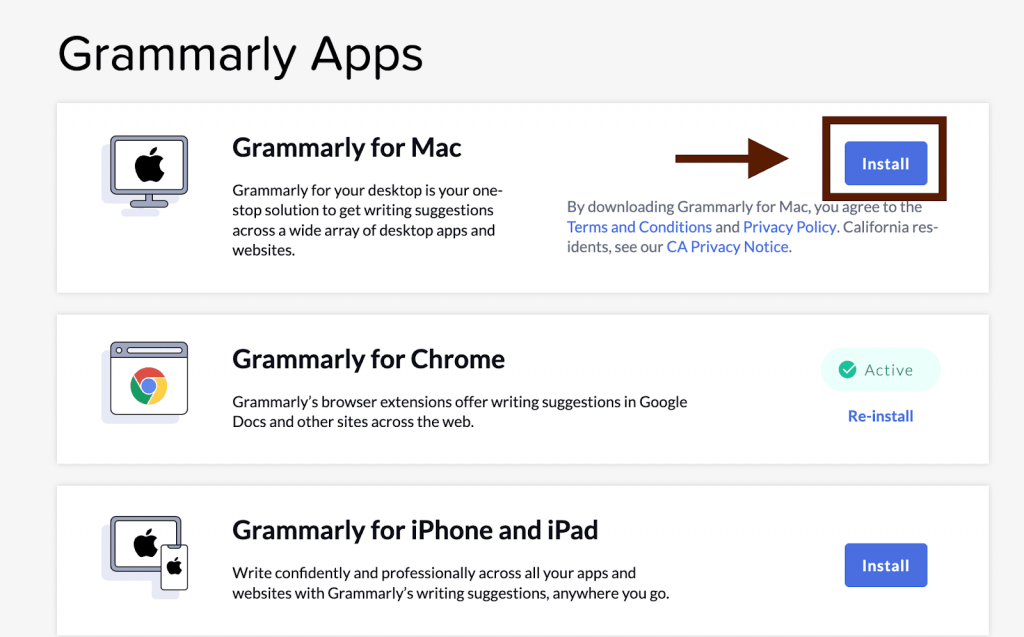
Step 1. Visit the Grammarly website and navigate to the “Apps” section on the left-hand side of your screen.

Step 2. Download the Grammarly desktop app for your operating system (Windows or macOS) and install it on your computer. Follow the on-screen instructions to install the app.
Step 3. After the installation is complete, launch the Grammarly desktop app and log in to your Grammarly account. This will ensure that your writing assistant is connected to your personal profile and settings.
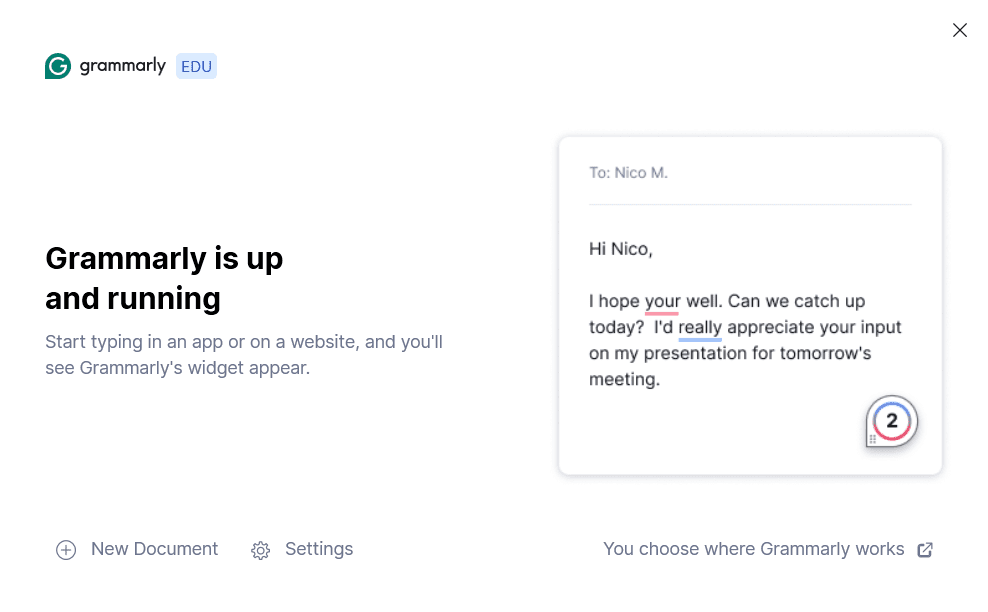
Step 4. With the Grammarly desktop app running, open Microsoft PowerPoint on your computer. Grammarly should now be integrated with your PowerPoint workflow, and you should see the Grammarly icon in the system tray (Windows) or menu bar (macOS).
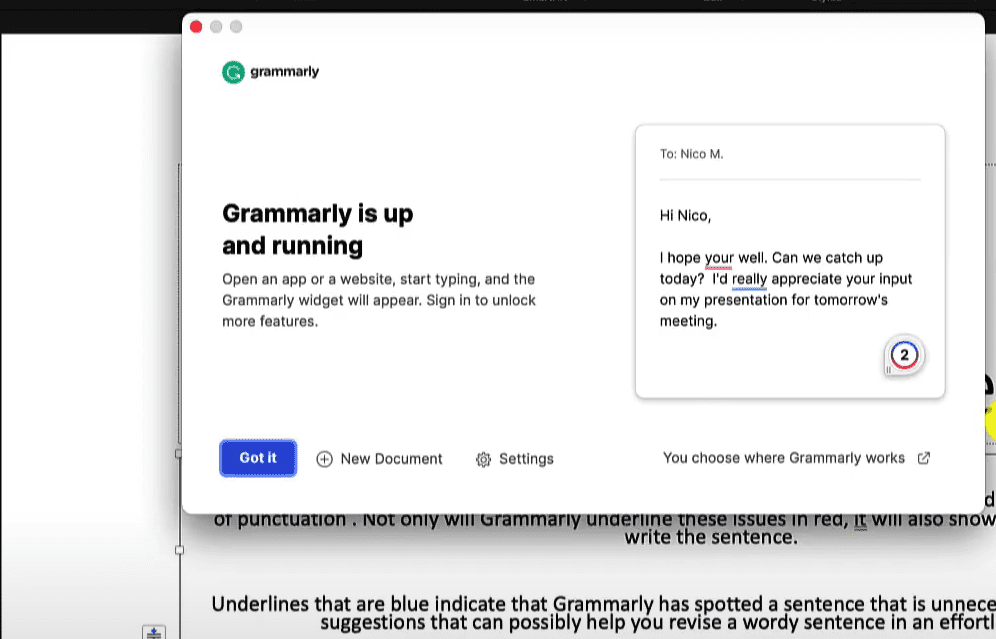
That’s it! You’ve successfully set up Grammarly for use with Microsoft PowerPoint. Now, let’s explore how to utilize Grammarly’s features within your PowerPoint presentations.
Using Grammarly in PowerPoint
Once Grammarly is integrated with your PowerPoint, using the tool is straightforward. Here’s a step-by-step guide:
Step 1. Create or Open a PowerPoint Presentation
Launch Microsoft PowerPoint and either create a new presentation or open an existing one that you’d like to proofread.
Step 2. Start Typing or Editing
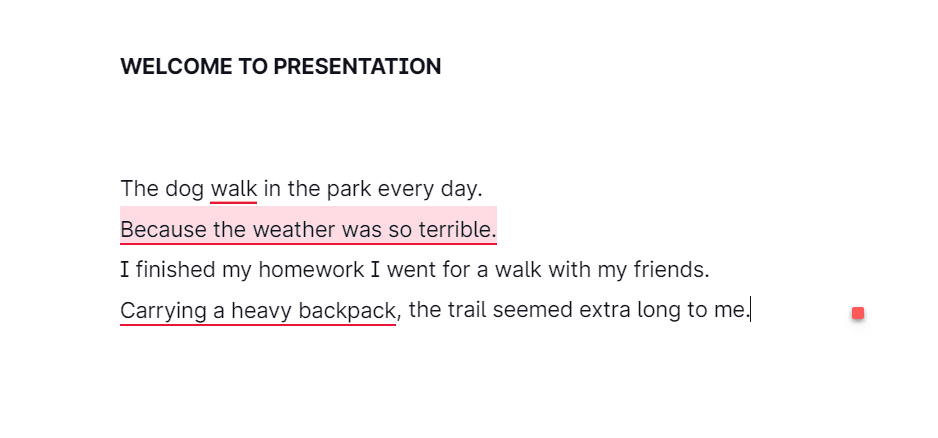
As you type or edit the content within your PowerPoint slides, Grammarly will automatically start analyzing your writing. You’ll notice that Grammarly underlines potential issues, such as spelling errors, grammar mistakes, and punctuation errors.
Step 3. Review Grammarly’s Suggestions
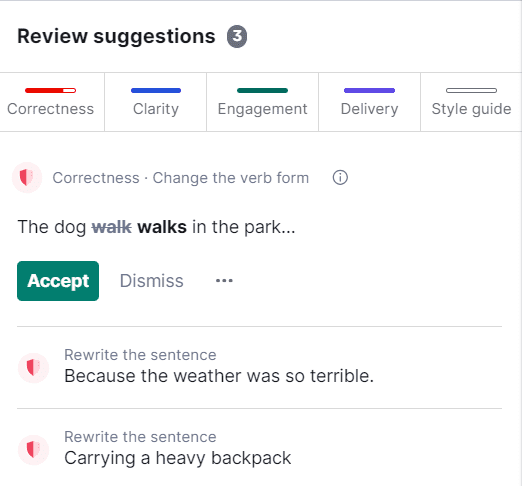
To view Grammarly’s suggestions, simply hover your mouse over the underlined text. A pop-up window will appear, showing the detected issue and providing recommendations for improvement.
Step 4. Implement Grammarly’s Suggestions
If you agree with Grammarly’s suggestions, you can easily implement them by clicking on the recommended correction. Grammarly will automatically update the text in your PowerPoint slide.

Step 5. Utilize Additional Grammarly Features
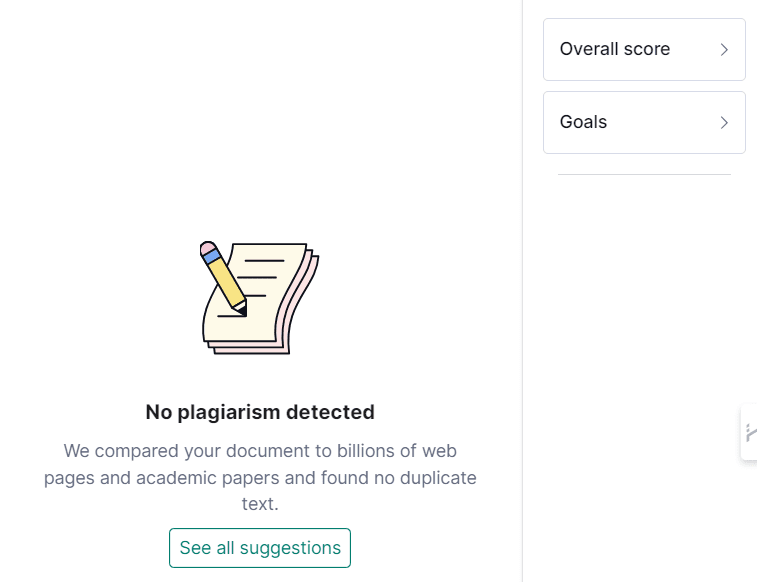
Depending on your Grammarly subscription plan, you may have access to additional features like plagiarism detection, tone analysis, and writing style suggestions. These can be accessed by clicking on the Grammarly icon in the system tray or menu bar.
Remember, Grammarly works in real-time, so you don’t have to manually trigger the grammar and spelling checks. As you type or edit your PowerPoint content, Grammarly will continuously monitor and provide feedback to help you maintain a high level of quality throughout your presentation.
What to do if Grammarly doesn’t appear in PowerPoint?
In some cases, you may encounter a situation where Grammarly doesn’t appear to be working within your PowerPoint environment. If this happens, try the following troubleshooting steps:
- Minimize and Restore the PowerPoint Window: Sometimes, the Grammarly widget may be anchored to one of the corners of your PowerPoint window, and it’s not immediately visible. Try minimizing and then restoring the PowerPoint window to see if the Grammarly widget appears.
- Quit and Relaunch Grammarly: If the Grammarly widget is still not visible, right-click on the Grammarly icon in the system tray (Windows) or menu bar (macOS) and choose “Quit Grammarly.” Then, relaunch the Grammarly desktop app and try opening your PowerPoint presentation again.
- Check the Blocked Apps Settings: In the Grammarly settings, navigate to the “Blocked Apps” or “Access” tab. If PowerPoint or other Microsoft Office applications are listed as “Blocked by me,” unblock them to allow Grammarly to integrate properly.
- Ensure You’re Using a Supported PowerPoint Version: Double-check that you’re using a version of Microsoft PowerPoint that is compatible with Grammarly. Refer to the system requirements mentioned earlier in this guide to ensure you’re using a supported version.
If none of these steps resolve the issue, you may need to contact the Grammarly support team for further assistance. They can provide more specific troubleshooting advice based on your setup and the version of PowerPoint you’re using.
Removing Grammarly from PowerPoint
You can easily remove the integration if you no longer need to use Grammarly with your PowerPoint presentations. Here’s how:
- Quit the Grammarly Desktop App
First, locate the Grammarly icon in the system tray (Windows) or menu bar (macOS) and right-click on it. Choose the “Quit Grammarly” option to close the application.

- Uninstall the Grammarly Desktop App
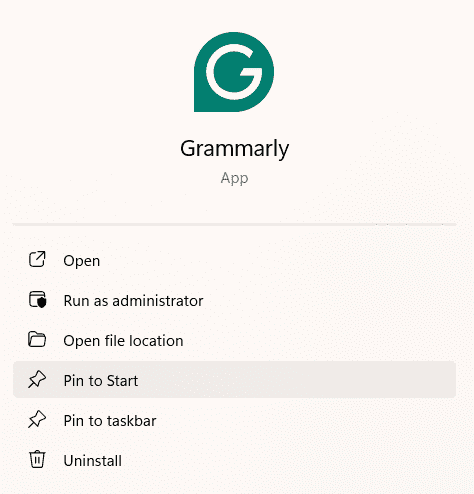
Open your computer’s Control Panel or Settings, and locate the Grammarly desktop app. Select the “Uninstall” or “Remove” option to completely remove the application from your system.
- Cancel Your Grammarly Subscription (Optional)
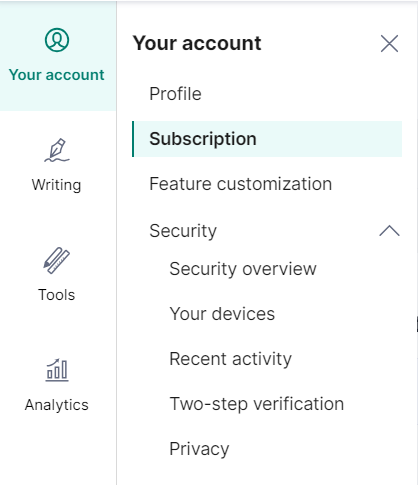
If you have a premium Grammarly subscription, you may want to consider canceling it if you no longer need the advanced features. You can do this by logging into your Grammarly account on the website and managing your subscription.
After completing these steps, Grammarly will no longer be integrated with your Microsoft PowerPoint. Keep in mind that you can always reinstall the Grammarly desktop app and reactivate the integration if you decide to use the tool with PowerPoint again in the future.
What Do You Get With Grammarly For PowerPoint?
Here are the features you will get with Grammarly for PowerPoint:
- Grammar and Spell Checking: Grammarly helps you identify and correct grammatical errors and typos, ensuring your presentation is polished.
- Clarity: It suggests improvements for clearer, more concise communication, enhancing the overall readability of your slides.
- Engagement: Grammarly offers suggestions to make your content more engaging and interesting to your audience.
- Delivery: It adjusts your writing style to match your intended tone and audience, ensuring effective communication.
- Style Checks: The tool ensures consistency in your language, helping maintain a professional and cohesive presentation style.
Related Read:
Conclusion: Grammarly Works Smoothly With Powerpoint
Integrating Grammarly with your Microsoft PowerPoint workflow can help you create flawless, error-free presentations that impress your audience. By following the instructions provided in this guide, you can set up Grammarly, make the most of its features to improve your slides and solve any problems that may come up.
So, what are you waiting for? Start excelling in making error-free PowerPoint presentations with Grammarly and take your presentations to the next level!
FAQs
Grammarly does not currently offer a direct integration with the web-based version of Microsoft PowerPoint. However, you can still use Grammarly’s web-based editor to check the content of your PowerPoint slides by copying and pasting the text into the Grammarly editor.
Grammarly for Windows supports Microsoft Office 2016 and newer, as well as Microsoft Office 365 (installed or updated after February 2020). For macOS users, Grammarly is compatible with the latest versions of PowerPoint.
Yes, if you have a Grammarly premium subscription, you can access the advanced features, such as plagiarism detection and tone analysis, when using Grammarly with your PowerPoint presentations.
Grammarly is designed to work seamlessly with Microsoft Office applications, including PowerPoint. While it may make minor formatting adjustments to the text as it suggests corrections, it should not significantly impact the overall layout and formatting of your PowerPoint slides.
To temporarily disable Grammarly in PowerPoint, click on the Grammarly icon in the system tray (Windows) or menu bar (macOS), then select the “Settings” option. From there, you can choose to turn off Grammarly for the current PowerPoint session or for a specific time period.